Pickles
It’s great when your life is fun and games, trails and mixes — when your only choice is what goes in the bag and where you source it. Non-perishable things are easy to deal with, and you stay in full control.
But then life happens. And by life I mostly mean people.
If you live alone, people mostly happen outside your home. If you live with others, people don’t happen — they just are.
On one hand, you want to contribute positively: to package your organization, your creativity, your appreciation of being alive into something authentic that you made all by yourself. On the other hand, you don’t want to come across like their b*tch. Making things in the kitchen while they play a game on their phone could give them the wrong idea about who you are.
There’s another difficulty to address. If you buy perishable things — veggies, say — you either turn your life upside down to put them on a schedule and make sure they deliver their freshness to you and yours, or you become a statistic in the most modern of person-veggie relationships: old veggies rotting in a moldy hospice at the back of the bottom drawer of the fridge, removed as a smelly liquid goo in a plastic bag when the fridge’s owner finally wakes from a Netflix-binge coma.
Hence pickles.
Why pickles
Pickles are a project you can do once in a blue moon. It can be planned as a single, concentrated buy-wash-cut-brine activity, followed by a few days of transition into the fridge. No one has to know you were in the kitchen making food like a b*tch. You find a moment when you’re home alone, and after the jars land in the fridge you’ll have something to offer people who come over, or something to bring as a treat wherever you go.
Once in the fridge, pickles don’t turn bad. They actually keep getting better with time. So you take something perishable — something with a shelf life, something that keeps calling out to you the whole time (“My biological clock is ticking! Prepare me! Make me! Don’t let me rot in the moldy hospice!”) — and you turn it into something that just chills there, compounding probiotic power and unleashing it on demand.
And if you know how to make a trail mix, you almost know how to make pickles.
Buy fresh → Pack & brine → Wait patiently → Share generously.
Buy
Think about what you want in the pickling batch. You don’t need to pickle EVERYTHING — but 2–7 things in a batch work really well. Any combination of the following is great:
- Cucumbers
- Tomatoes
- Radish
- Peppers
- Kohlrabi
- Celery stalks
- Carrots
- Broccoli
- Cabbage
- Beets
- Zucchini
- Squash
Buy fresh, wash, and cut to pieces comparable in size — with one caveat: the denser the vegetable, the finer the dice. So half a tomato, half a Persian cucumber, and a whole little radish are three good friends to mix up in your ferment. Don’t worry about precise ratios.
Pack & brine
Add some aromatics to the mix:
- Crushed garlic
- Dill
- Cilantro
- Celery leaves
- Mint
- Parsley
- Hot peppers
- Mustard seeds
- Coriander seeds
- Cloves
- Allspice
- Peppercorns
- Ginger
- Horseradish
Again, you know the drill: the goal isn’t to exhaust the list, but to arrive at a combination you’d like to work with this time.
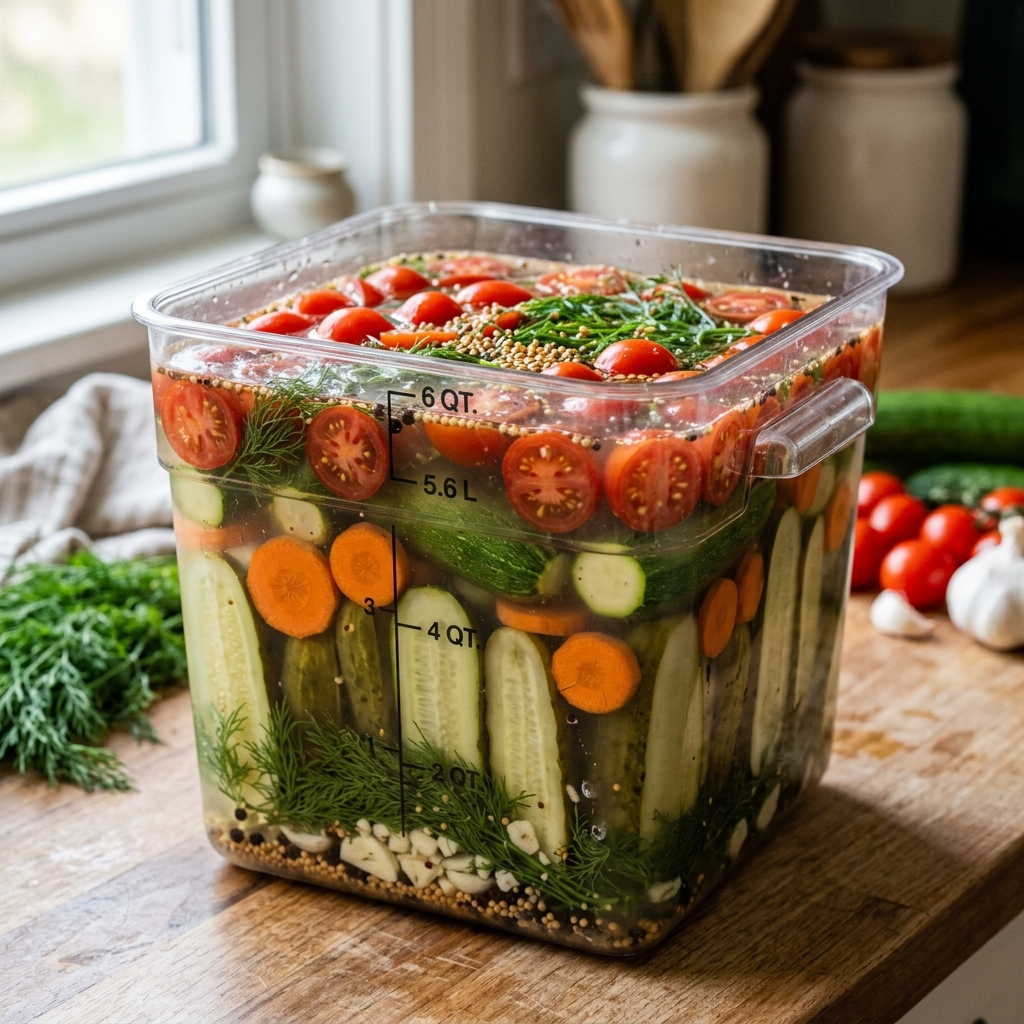
Pack the mix of veggies and aromatics into a glass jar, an enamel pot, or a food-grade plastic container. Make a brine: 20 grams of salt (a tablespoon) to 1 liter of boiling water. Pour in enough to submerge everything, and cover in a way that keeps all the veggies under the brine.
Wait
24–36 hours is enough time to ferment outside the fridge in the summer; 2–4 days in the winter. The test is easy: if a pickle tastes fizzy and half-sour, it can go to the fridge. Once it’s in there, it’ll only keep getting better — just like you’ll keep getting better at pickling with each batch.
Sauerkraut
My Soviet heritage compels me to give a dedicated recipe for sauerkraut, since it’s a staple of Eastern European cuisine and will be referenced in future chapters.
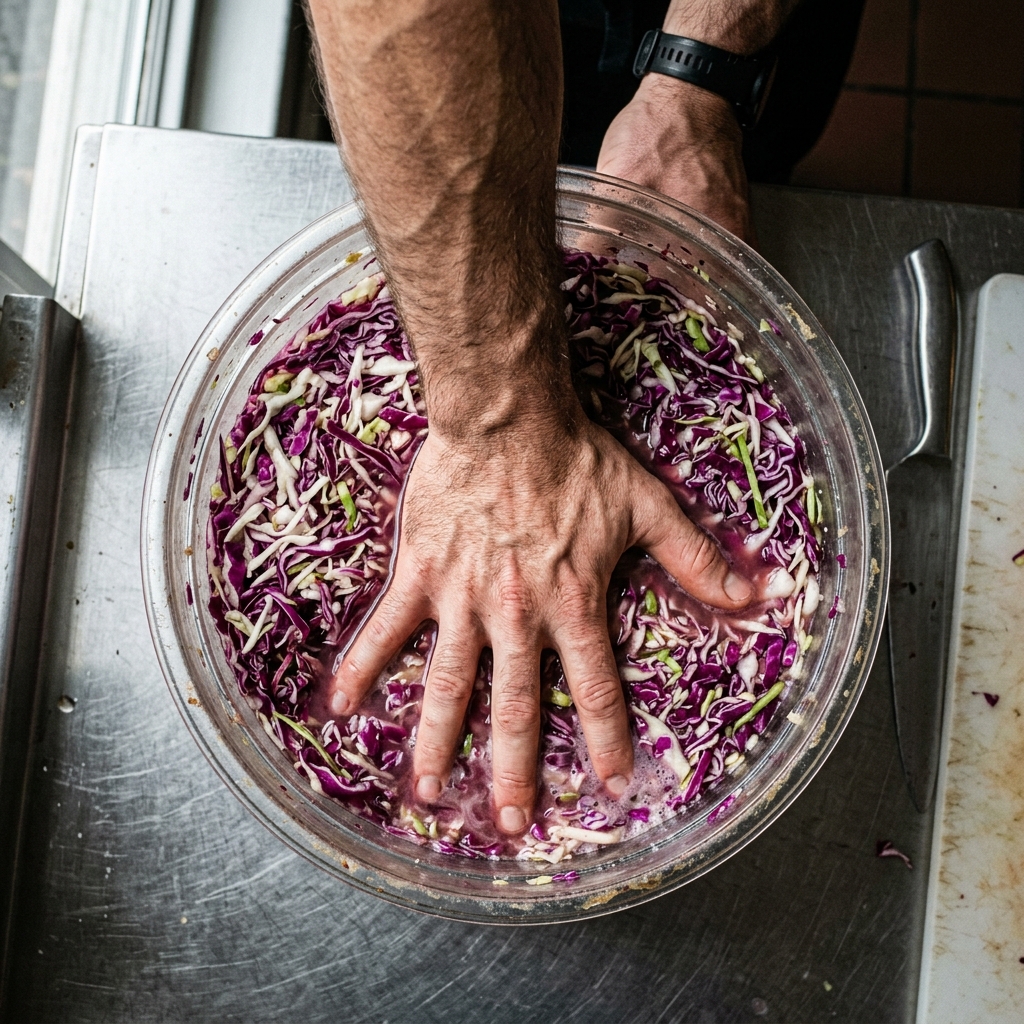
Use kitchen scales, or record the weight of the cabbages when you buy them. Measure 20 grams (1 tablespoon) of salt per 1 kg of cabbage. Cut the cabbage into quarters. Remove the center stem from each quarter and keep it aside. Cut the quarters into strips of uniform width. Mix with salt and squeeze the strips with your hands until they start to sweat. Pack tightly into a pickling jar, put the reserved cabbage stems on top, and cover so the cabbage stays tightly packed and submerged in its own juices.
Once a day, puncture all the layers of the fermenting sauerkraut with a chopstick, then press down forcefully with your hands again so the pickling juices redistribute. 3–4 days outside the fridge are enough in the summer, closer to a week in the winter.
The size of the project
I use 6-liter non-reactive food-grade plastic containers for my pickling projects. But I also keep 4-, 2-, and 1-liter jars. When a pickling project would only fit in a 1–2 liter jar, I schedule some me time to fill the 6-liter container with a fresh ferment instead.
Because that’s the second fundamental: you take the thing that’s perishable, the thing that nags at you, and you build a little system that turns its anxiety into something that compounds. The trail mix taught you to buy wisely. The pickle teaches you to wait — and to let time do work that you can’t. There are six more where this came from, and each one makes the others better.